Grandma's Best Homemade Bread: A Taste of Nostalgia, Better Than Store-Bought!
There’s an undeniable magic that fills the air when
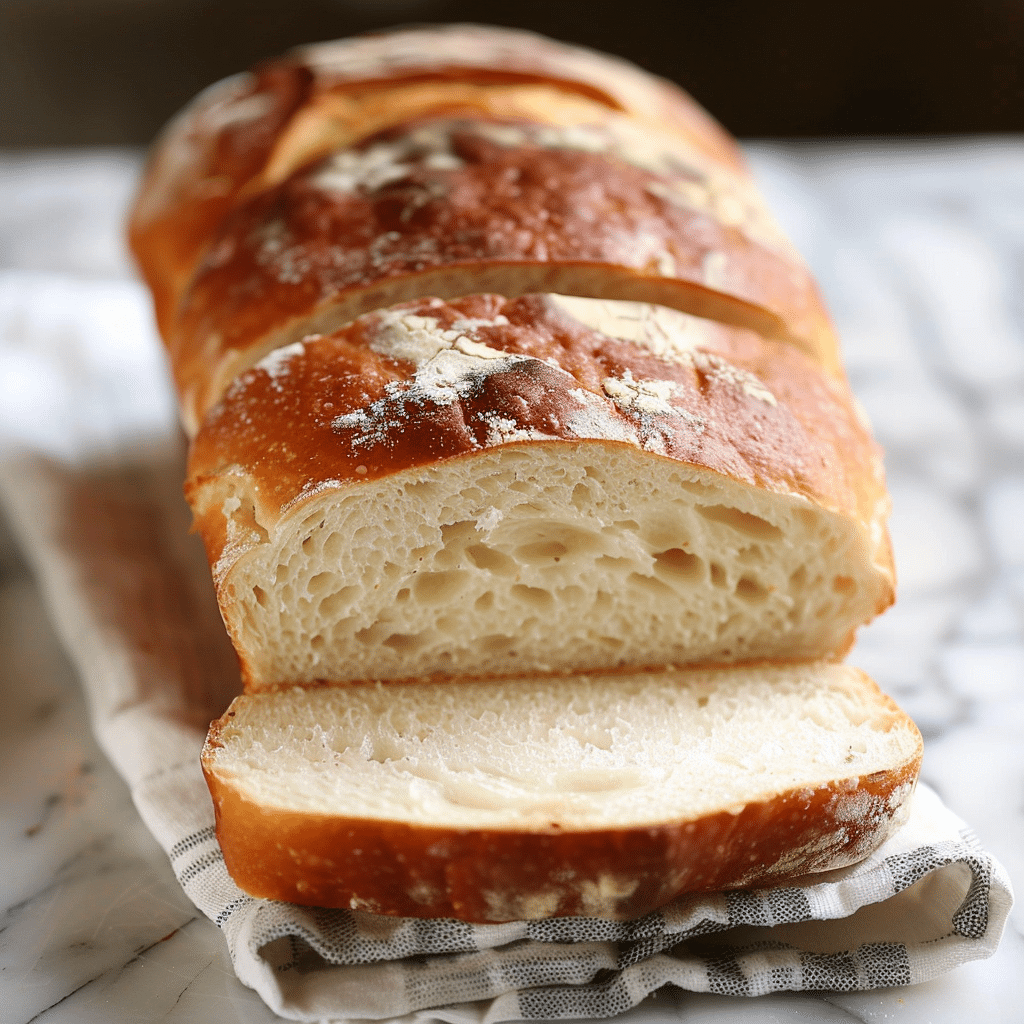
homemade bread is baking. That comforting, yeasty aroma, a scent that whispers of warmth, family, and simpler times. It’s a feeling often associated with childhood memories, perhaps of a beloved grandmother pulling a golden-brown loaf from the oven. If you've ever dreamt of recreating that perfect, tender, chewy slice of bread at home, you're in the right place. Forget the bland, often additive-filled loaves from the grocery store. This ultimate guide will help you bake a truly exceptional homemade bread, a recipe so simple yet profound, it could easily be Grandma's own secret. Not only is it incredibly rewarding, but it’s also surprisingly easy and yields results that are indisputably superior to anything you can buy.
Why Homemade Bread Reigns Supreme: Beyond Just Taste
While the incredible flavor is certainly a primary motivator, the benefits of baking your own homemade bread extend far beyond tantalizing your taste buds.
*
Unbeatable Freshness and Flavor: Store-bought bread starts losing its freshness the moment it’s cooled and packaged. Your homemade loaf, however, is at its absolute peak just hours after baking. The rich, nuanced flavors of freshly baked dough simply cannot be replicated by commercial processes.
*
Simple, Wholesome Ingredients: With homemade bread, *you* control what goes into it. Our cherished recipe uses just a handful of basic ingredients: water, flour, yeast, a touch of sugar, salt, and oil. No unpronounceable preservatives, artificial flavors, or unnecessary additives. It’s real food, made with love.
*
Cost-Effective: Baking your own bread can be significantly cheaper than regularly buying specialty loaves, especially if you enjoy high-quality artisanal bread. The ingredients are inexpensive staples you likely already have in your pantry.
*
A Therapeutic Experience: There’s a calming, meditative quality to the process of baking bread. From watching the yeast bloom to kneading the dough until it’s smooth and elastic, it’s a hands-on activity that connects you to an ancient culinary tradition. And, of course, the incredible aroma alone is worth the effort!
*
Versatility at Your Fingertips: This basic homemade bread recipe serves as a fantastic foundation. Want to experiment? Add a percentage of whole wheat flour for a nuttier flavor and added fiber, toss in some herbs for an aromatic savory loaf, or swirl in cheese for a delightful treat. The possibilities are endless.
The Simple Magic: Essential Ingredients for Your Loaf
Creating truly fantastic homemade bread doesn't require a specialty store or an obscure pantry. In fact, you likely have most of these humble heroes on hand. The magic truly lies in their interaction and the precise temperatures involved.
1.
Warm Water: This is the lifeblood for your yeast. Aim for a temperature around 105°F (40°C) – slightly warmer than lukewarm but not hot. Water that's too cold won't activate the yeast, and water that's too hot will kill it. A good rule of thumb is if it feels pleasant to the touch but not scalding, it's probably just right.
2.
Granulated Sugar: A small amount of sugar isn't just for sweetness; it acts as vital food for the yeast, helping it to activate and proof vigorously. It also contributes to the beautiful golden-brown crust.
3.
Yeast (Instant OR Active Dry): The leavening agent that makes your bread rise. Both instant and active dry yeast work wonderfully. Active dry yeast typically requires proofing (activating in warm water and sugar), while instant yeast can sometimes be added directly to the dry ingredients, though proofing is always a safe bet for beginners to ensure it's alive.
4.
Salt: Don't skip the salt! It's crucial for enhancing the flavor of your bread and also helps to regulate yeast activity, preventing the dough from rising too quickly.
5.
Vegetable or Canola Oil: A touch of oil contributes to the tenderness and moisture of the bread crumb, making it soft and lovely. It also helps create a more delicate crust. You can use any neutral-flavored oil you prefer.
6.
All-Purpose Flour (or Bread Flour): While all-purpose flour works perfectly well for a soft, delicious loaf, bread flour has a higher protein content, which translates to more gluten development. This results in a chewier texture and a bread that holds its shape a bit better. Feel free to use either, or even experiment with a blend, perhaps incorporating some whole wheat flour for added depth.
Step-by-Step to Baking Bliss: Unlocking Your Inner Baker
This easy, celebrated method for homemade bread has garnered thousands of rave reviews for good reason – it truly delivers a 5-star loaf, making it ideal for both beginners and experienced bakers looking for reliability. Let's walk through the process, step by step, ensuring your first (or hundredth!) loaf is a resounding success.
Step 1: Activate Your Yeast – The Proof is in the Bubbles
In a large mixing bowl (or the bowl of your stand mixer), combine your warm water, yeast, and one tablespoon of the granulated sugar. Give it a gentle stir and then let it sit undisturbed for about 5-7 minutes. You're looking for visible proof of life: the mixture should become foamy and bubbly, expanding to cover the surface of the water. This tells you your yeast is active and ready to work its magic. If nothing happens, your water might have been too hot or too cold, or your yeast may be expired. Start again with fresh yeast and carefully calibrated water.
Step 2: Combine Remaining Ingredients and Mix
Once your yeast is bubbling happily, add the remaining sugar, oil, salt, and all of your flour. Using an electric mixer with a dough hook attachment makes this incredibly easy, taking about 2-3 minutes to combine thoroughly. If you’re mixing by hand, use a sturdy spoon or spatula until a shaggy dough forms and most of the flour is incorporated.
Step 3: Kneading for Texture and Rise
This step is absolutely crucial for developing the gluten structure that gives bread its characteristic chewiness, elasticity, and ability to rise beautifully.
*
With a Stand Mixer: Attach the dough hook and knead on medium-low speed for about 7-8 minutes. The dough should become smooth, elastic, and pull away from the sides of the bowl.
*
By Hand: Turn the shaggy dough out onto a lightly floured surface. Knead vigorously for 10-12 minutes. The rhythm of push-fold-turn is meditative. Your dough will start out sticky, but as you knead, it will become progressively smoother, more elastic, and less sticky. A good test for readiness is the "windowpane test": pinch off a small piece of dough and gently stretch it. If you can stretch it thin enough to see light through it without tearing, your gluten is well-developed.
Step 4: The First Rise (Bulk Fermentation)
Lightly grease a clean bowl with oil. Place your smooth, kneaded dough into the bowl, turning it once to coat all sides with oil. This prevents it from drying out. Cover the bowl tightly with plastic wrap (lightly sprayed with oil on the side touching the dough) or a clean, damp kitchen towel.
Place the bowl in a warm, draft-free spot. A common trick for a quicker rise, especially in a cool home, is to turn your oven on for 2-3 minutes, then turn it *off*, and place the covered bowl inside. Let the dough rise until it has roughly doubled in size, which typically takes about 60-90 minutes, depending on the warmth of your environment.
Step 5: Punch Down, Shape, and Second Rise
Once doubled, gently "punch down" the dough to release the accumulated gases. Divide the dough into two equal portions (this recipe yields two loaves). Shape each portion into a tight, neat loaf. There are various techniques for shaping, but a simple method is to gently flatten the dough into a rectangle, then roll it up tightly from one of the longer sides, pinching the seam closed at the bottom.
Place the shaped loaves into lightly greased loaf pans. Cover them again with oiled plastic wrap or a clean towel and let them rise for a second time in a warm spot, until they’ve nearly doubled in size again and are visibly puffy, usually another 30-45 minutes.
Step 6: Bake to Golden Perfection
Preheat your oven to 375°F (190°C) during the last 15-20 minutes of the second rise. Bake the loaves for 25-35 minutes, or until they are beautifully golden brown on top and sound hollow when tapped on the bottom. For an extra soft and golden crust, you can brush the tops with a little melted butter immediately after taking them out of the oven.
Step 7: Cool and Enjoy!
This final step is crucial for the internal structure of your homemade bread. Transfer the loaves from their pans to a wire cooling rack immediately. Resist the urge to slice into them right away! Letting them cool for at least 30-60 minutes (or even longer for a truly set crumb) allows the internal steam to redistribute and the texture to fully develop. A warm slice of this fresh, homemade bread, slathered with a thick pat of butter, is a simple pleasure that truly makes you appreciate the art of baking. For more tips on getting that perfect loaf every time, check out our guide on
Unlock 5-Star Homemade Bread: Easy Recipe for Any Baker.
Conclusion: The Enduring Joy of Homemade Bread
There’s an unparalleled satisfaction that comes from pulling your own loaves of golden, fragrant bread from the oven. This "Grandma's best" homemade bread recipe isn't just about ingredients and steps; it's about connecting with a timeless tradition, creating something wholesome with your own hands, and filling your home with an aroma that speaks of comfort and love. Once you experience the incredible taste and texture of truly fresh, homemade bread, you'll understand why it's infinitely better than anything you can buy. So, gather your simple ingredients, embrace the process, and prepare to delight yourself and your loved ones with the best bread you've ever tasted. Happy baking!